- Signs That Your Interior Door Frame Needs Repair
- Common Causes of a Broken Interior Door Frame
- Tools and Materials Needed to Fix or Replace a Door Frame
- Step-by-Step Guide to Fixing Minor Door Frame Damage
- How to Reinforce a Weak or Damaged Door Frame
- When to Replace the Entire Door Frame
- Step-by-Step Guide to Replacing a Broken Interior Door Frame
- How to Measure for a New Door Frame
- Choosing the Right Replacement Door Frame
- How to Install a New Door Frame: Tips and Tricks
- Common Mistakes to Avoid When Fixing or Replacing a Door Frame
- How to Maintain Your Door Frame for Longevity
- Cost Considerations: Repairing vs. Replacing a Door Frame
- How to Paint or Stain Your Repaired or Replaced Door Frame
A broken interior door frame can be more than just an eyesore—it can also compromise the functionality and security of your door. Whether the frame has been damaged by impact, moisture, or general wear and tear, addressing the issue promptly is essential to maintaining the integrity of your home. In many cases, minor damage can be repaired with some basic tools and materials, but more severe damage may require a full replacement of the door frame.
In this article, we’ll explore the various steps involved in both fixing and replacing a broken interior door frame. From identifying the signs that your door frame needs attention to guiding you through the repair or replacement process, we’ll cover everything you need to know to restore your door to perfect working condition. We’ll also discuss the tools and materials required, as well as tips for maintaining your door frame to prevent future damage.
Signs That Your Interior Door Frame Needs Repair
Recognizing when your interior door frame needs repair is essential to keep your doors functional and looking good. Here are some key signs to watch for:
- Visible Cracks or Splits in the Wood: These can indicate that the frame is starting to weaken and may need immediate attention.
- Difficulty Closing or Opening the Door: If your door is hard to open or close, it could be a sign that the frame is misaligned or warped.
- Noticeable Gaps Between the Door and Frame: Gaps can suggest that the frame has shifted or is no longer square, affecting the door's fit.
- Damage Around the Hinges: Loose hinges or broken wood around them can compromise the door's stability.
- Door Doesn’t Latch Properly: This could be due to a shift or damage in the frame, preventing the latch from aligning with the strike plate.
By addressing these signs early, you can avoid further damage and the potential need for a complete frame replacement, ensuring your interior doors remain both functional and aesthetically pleasing.
Common Causes of a Broken Interior Door Frame
Understanding the causes behind a broken interior door frame can help you take preventive measures. Here are some of the most common culprits:
- Physical Impact: Repeatedly slamming the door or heavy objects hitting the frame can weaken the wood, leading to cracks or splits over time.
- Moisture Damage: Excessive humidity or exposure to water can cause the wood to swell, warp, or rot, especially in areas like bathrooms with high moisture levels.
- Poor Installation: Incorrect installation or the use of low-quality materials can result in a door frame that breaks down prematurely, compromising its durability.
- House Settling: As a house settles over time, door frames may shift, causing misalignment, gaps, and cracks that can affect the door’s functionality.
By recognizing these common causes, you can take steps to protect your door frames, helping to prevent damage and extend their lifespan.

Tools and Materials Needed to Fix or Replace a Door Frame
Having the right tools and materials is crucial for a successful door frame repair or replacement. Here’s what you’ll need:
For Minor Repairs:
- Hammer: For tapping in nails or adjusting parts.
- Screwdriver: To remove or tighten screws.
- Chisel: For cleaning up damaged areas or removing old frame parts.
- Utility Knife: To cut away damaged wood or trim.
- Wood Filler or Putty: To fill cracks and holes in the frame.
- Sandpaper: To smooth the surface after applying filler.
- Putty Knife: For applying and smoothing wood filler.
For Extensive Repairs or Replacement:
- Tape Measure: To measure the dimensions of the door frame and ensure a proper fit.
- Level: To ensure the frame is installed straight and plumb.
- Saw: To cut the new frame or make adjustments to the existing one.
- Drill: For making holes for screws or hardware.
- Shims: To help level and adjust the new frame during installation.
- Wood Glue: For reinforcing joints and ensuring a strong hold.
- Screws and Clamps: To secure the frame in place and hold it while the glue dries.
- New Door Frame: Either pre-made or custom-cut to fit your measurements.
Having these tools and materials prepared before you start will help ensure a smoother and more efficient repair or replacement process.
Step-by-Step Guide to Fixing Minor Door Frame Damage
Fixing minor damage to an interior door frame is a straightforward DIY project that can help restore its functionality and appearance. Here’s a step-by-step guide to help you through the process:
- Assess the Damage
- Examine the door frame to determine the extent of the damage. For small cracks or holes, proceed with the following steps. If the damage is extensive, consider seeking professional help.
- Prepare the Area
- Use a utility knife to clean the damaged area. Remove any loose or splintered wood to ensure a smooth surface for the repair.
- Apply Wood Filler or Putty
- Fill the crack or hole with wood filler or putty using a putty knife. Press the filler into the damage, ensuring it’s filled completely. Smooth the surface as much as possible to blend with the surrounding wood. Allow the filler to dry according to the manufacturer’s instructions.
- Sand the Repair
- Once the filler is dry, use sandpaper to smooth the surface. Sand gently to blend the repaired area with the rest of the door frame. If needed, apply a second layer of filler, let it dry, and sand again until the repair is seamless.
- Paint or Stain
- After sanding, you can paint or stain the repaired area to match the rest of the door frame. Ensure the paint or stain is fully dry before using the door.
- Reinforce Around Hinges (if applicable)
- If the damage is around the hinges, remove the hinge and apply wood glue to any cracks. Clamp the area until the glue dries. Once dry, reattach the hinge using longer screws to provide added stability.
By following these steps, you can effectively fix minor door frame damage and extend the life of your door.
How to Reinforce a Weak or Damaged Door Frame
Reinforcing a weak or damaged door frame is a critical step in ensuring the longevity and stability of your door. If your door frame is starting to show signs of wear, such as sagging or loose hinges, reinforcing it can prevent further damage and avoid the need for a complete replacement.
Start by removing the door from its hinges to give yourself clear access to the frame. Inspect the frame closely, paying particular attention to the areas around the hinges and the strike plate, as these are the most common points of weakness. If you notice any cracks or splits, apply wood glue to the damaged areas and use clamps to hold the frame together while the glue dries.
For additional reinforcement, you can install metal brackets or plates at the hinge locations. These brackets help distribute the weight of the door more evenly and reduce the stress on the frame. Secure the brackets with screws, making sure they are flush with the wood to prevent interference with the door’s movement.
If the frame is severely weakened, you may need to add additional support by inserting wood blocks or shims behind the hinges. This helps to shore up the frame and provides a more solid foundation for the door. By reinforcing your door frame, you can ensure that it remains strong and functional for years to come.
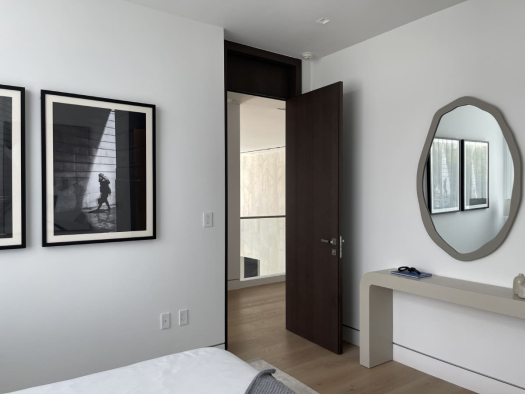
When to Replace the Entire Door Frame
There are times when fixing a door frame is no longer an option, and a full replacement is necessary. Knowing when to replace the entire door frame can save you time, money, and the frustration of dealing with ongoing issues.
One of the most obvious signs that you need to replace the door frame is extensive damage. If the frame is cracked, warped, or rotten beyond repair, it’s time to consider a full replacement. This is especially true if the damage affects the structural integrity of the frame, making it difficult or impossible to properly hang a door.
Another reason to replace a door frame is if the door no longer fits properly within it. Over time, house settling or changes in humidity can cause the frame to shift or warp, leading to misalignment. If the door is consistently difficult to open or close, replacing the frame may be the best solution.
Finally, if you’re planning a significant renovation or upgrade to your home’s interior, replacing the door frame can help create a cohesive look and ensure that all elements of the door are up to date.
Step-by-Step Guide to Replacing a Broken Interior Door Frame
Replacing a broken interior door frame might seem challenging, but with a clear plan and the right tools, it can be done efficiently. Here’s a step-by-step guide to help you through the process:
- Remove the Door
- Start by taking the door off its hinges. This will give you clear access to the frame. Use a screwdriver to remove the hinge screws, then carefully lift the door away from the frame.
- Remove the Trim
- Use a utility knife to cut through any caulk or paint sealing the trim to the wall. Then, use a pry bar to carefully remove the trim around the door frame. Be gentle to avoid damaging the wall.
- Take Out the Old Frame
- Remove any screws or nails holding the old frame in place. If necessary, use a saw to cut through any remaining nails or screws. Carefully pull the old frame away from the wall, being mindful not to damage the surrounding drywall.
- Prepare the Opening
- Clean the area of any debris and inspect it for damage. Measure the rough opening to ensure that the new frame will fit properly.
- Assemble and Install the New Frame
- Assemble the new door frame according to the manufacturer’s instructions. Insert the new frame into the opening, using shims to ensure it is level and plumb. This step is crucial for proper door operation.
- Secure the Frame
- Once the frame is correctly positioned, secure it in place with screws or nails. Make sure it is firmly attached to the wall and remains level.
- Reattach the Trim
- Reinstall the trim around the door frame. Use nails or screws to secure the trim, and fill any gaps or nail holes with caulk or wood filler.
- Hang the Door
- Hang the door back on its hinges. Check that the door opens and closes smoothly, making any necessary adjustments to ensure proper alignment.
By following these steps, you can replace a broken interior door frame and restore your door to its full functionality.
How to Measure for a New Door Frame
Accurate measurements are crucial when replacing an interior door frame to ensure that the new frame fits perfectly within the existing opening. Here’s how to measure for a new door frame to avoid common pitfalls and ensure a successful installation.
Start by measuring the width of the rough opening, which is the space left in the wall after the old frame has been removed. Measure at three points: the top, middle, and bottom of the opening. Use the smallest measurement to ensure that the new frame will fit without needing significant adjustments.
Next, measure the height of the opening from the floor to the top of the rough opening. Again, take measurements at several points to account for any unevenness in the floor or ceiling. It’s important to measure the depth of the wall as well, to ensure that the frame fits flush with the surrounding wall surface.
Once you have these measurements, you can select a door frame that matches the size of your opening. If the measurements don’t align with standard sizes, you may need to have a custom frame made.
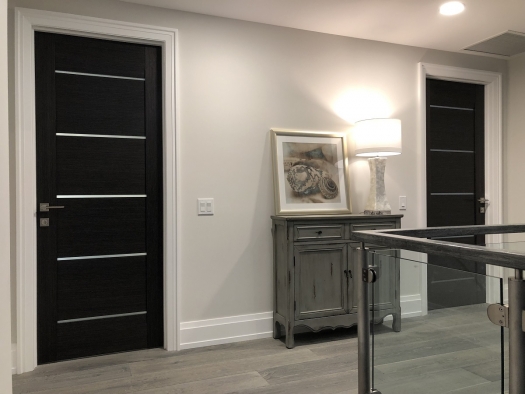
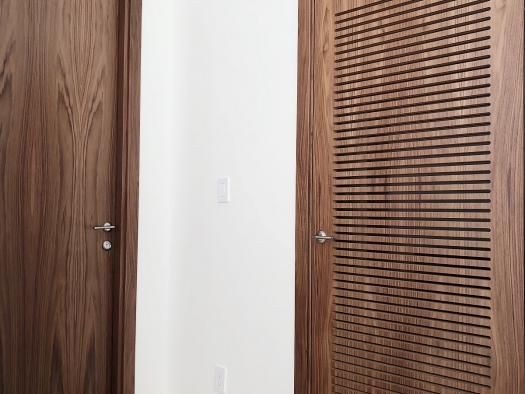
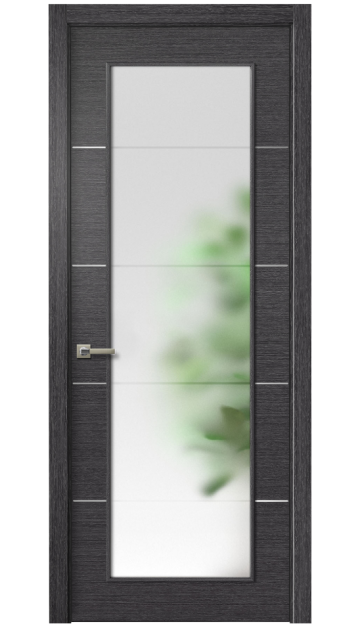
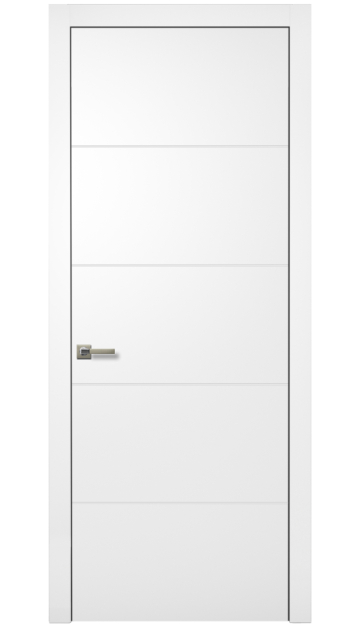
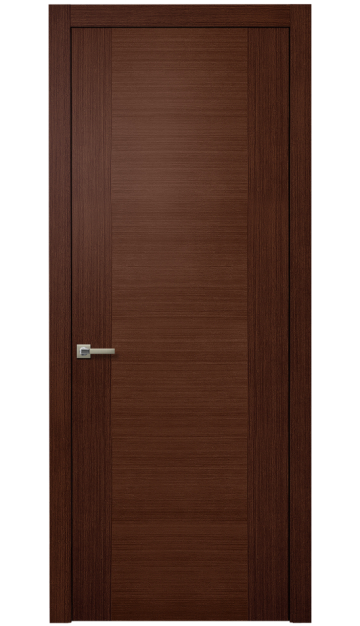
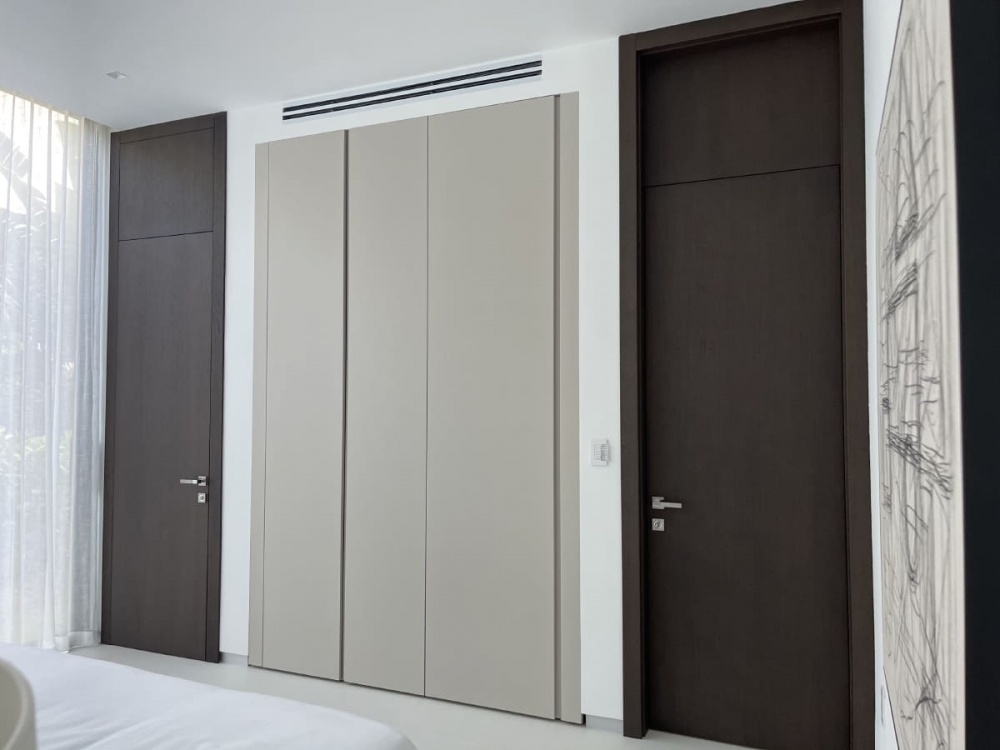
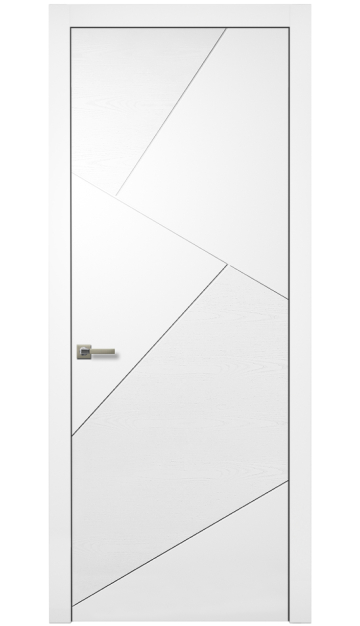
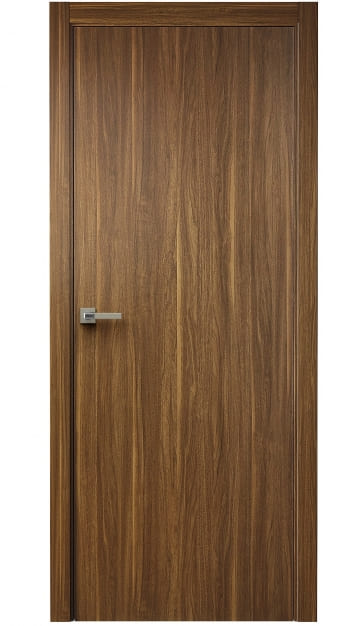
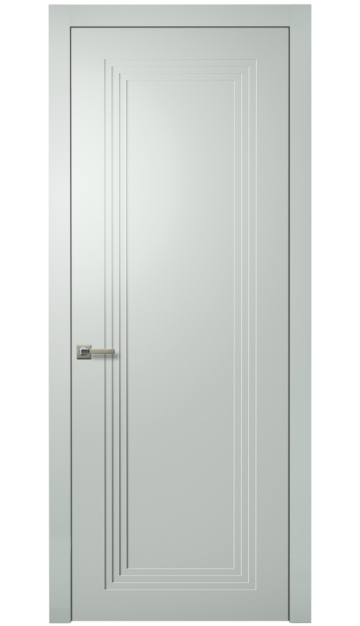
Choosing the Right Replacement Door Frame
Selecting the right replacement door frame is essential for both the functionality and aesthetics of your interior door. The choice you make will depend on several factors, including the style of your home, the type of door you’re installing, and your budget.
First, consider the material of the door frame. Wood is a popular choice due to its durability and classic appearance, but it can be susceptible to moisture and may require regular maintenance. MDF (Medium Density Fiberboard) is another option that offers a smooth finish and is resistant to warping, making it ideal for interior doors in areas with fluctuating humidity levels.
Next, think about the style of the frame. The profile and design of the frame should complement the style of the door and the overall decor of the room. Traditional homes may benefit from more ornate frames, while modern homes might look better with sleek, minimalist designs.
Finally, consider whether you need a pre-finished or unfinished frame. Pre-finished frames are ready to install and require no additional painting or staining, saving time and effort. Unfinished frames, on the other hand, offer more flexibility for customization, allowing you to paint or stain the frame to match your exact specifications.
How to Install a New Door Frame: Tips and Tricks
Installing a new door frame requires precision and attention to detail to ensure a smooth operation and secure fit. Here are some tips and tricks to help you achieve a professional-quality installation:
- Gather Tools and Materials
- Ensure you have all the necessary tools and materials, including a level, shims, screws, a drill, and the door frame. Having a second person to assist with holding the frame in place can be very helpful.
- Assemble the Door Frame
- Follow the manufacturer’s instructions to assemble the door frame, making sure all joints are secure. This step ensures that the frame is ready for installation.
- Insert the Frame
- Place the assembled frame into the rough opening. Use shims to adjust the frame so that it is level and plumb. Proper alignment is crucial for the door to hang correctly and operate smoothly.
- Secure the Frame
- Once the frame is properly positioned, secure it to the wall using screws or nails. Start at the top and work your way down, checking the level at each step to maintain a plumb position. This helps prevent any misalignment.
- Install the Door
- After securing the frame, remove any excess shims and hang the door. Check that it opens and closes smoothly.
- Adjust as Needed
- Test the door and make any necessary adjustments to the hinges or strike plate to ensure a perfect fit. Proper adjustments ensure smooth operation and proper closure.
- Reinstall the Trim
- Finish the installation by reinstalling the trim around the door frame. This final step completes the look and provides a finished appearance.
By following these tips and tricks, you can successfully install a new door frame and enjoy improved functionality and appearance for your interior doors.
Common Mistakes to Avoid When Fixing or Replacing a Door Frame
Fixing or replacing a door frame can be a straightforward project, but there are common mistakes that can lead to complications if you’re not careful. Being aware of these mistakes can help you avoid them and ensure a smooth and successful repair or replacement.
One common mistake is failing to properly measure the rough opening before purchasing a new frame. Inaccurate measurements can result in a frame that doesn’t fit, leading to delays and additional costs. Always double-check your measurements and ensure that the frame you choose will fit the opening.
Another mistake is not leveling the frame during installation. A frame that isn’t level can cause the door to hang crookedly, making it difficult to open and close. Use a level and shims to ensure that the frame is perfectly plumb before securing it in place.
Using the wrong type of screws or nails is another common error. Ensure that you’re using fasteners that are long enough to penetrate the wall studs, providing a secure hold. Using screws that are too short can result in a frame that isn’t properly anchored and may become loose over time.
Finally, don’t rush the process. Take your time to carefully align and secure the frame, checking your work at each step. By avoiding these common mistakes, you can achieve a professional-quality repair or replacement that will stand the test of time.
How to Maintain Your Door Frame for Longevity
Proper maintenance is crucial for extending the life of your door frame and minimizing the need for repairs or replacements. Follow these steps to keep your door frame in excellent condition:
- Inspect Regularly
- Periodically check your door frame for signs of wear, such as cracks, splits, or moisture damage. Early detection allows you to address minor issues before they become major problems.
- Repair Small Damage
- If you spot small cracks or holes, use wood filler to repair them. This helps prevent further damage and maintains the integrity of the frame.
- Check Door Alignment
- Monitor the alignment of the door within the frame. Over time, the frame may shift or settle, causing the door to become misaligned. If the door is hard to open or close, adjust the hinges or use shims to correct the alignment.
- Protect Wooden Frames
- For wooden door frames, apply a fresh coat of paint or stain every few years. This not only improves the frame’s appearance but also provides a protective layer against moisture, which helps prevent rot and decay.
By implementing these maintenance tips, you can ensure that your door frame remains in good condition and that your interior doors continue to function smoothly for years to come.

Cost Considerations: Repairing vs. Replacing a Door Frame
When faced with a damaged door frame, one of the first decisions you’ll need to make is whether to repair or replace it. Both options have their costs, and understanding these costs can help you make the best decision for your budget and needs.
Repairing a door frame is generally less expensive than replacing it, especially if the damage is minor. The cost of materials like wood filler, screws, and paint is relatively low, and if you’re able to do the work yourself, you can save on labor costs. However, if the damage is extensive or if the frame is no longer structurally sound, repairs may only be a temporary fix, and replacement may be more cost-effective in the long run.
Replacing a door frame is more costly, particularly if you need a custom frame or if the installation requires professional help. However, replacement offers the advantage of a completely new, structurally sound frame that will last for many years. If your existing frame is severely damaged or if you’re planning a major renovation, replacement may be the better investment.
When deciding between repairing and replacing, consider the extent of the damage, the cost of materials and labor, and the long-term benefits of each option.
How to Paint or Stain Your Repaired or Replaced Door Frame
Once you’ve repaired or replaced your door frame, the final step is to paint or stain it to match the rest of your home’s decor. This not only enhances the appearance of the frame but also provides a protective layer against wear and tear.
If you’re painting the frame, start by sanding the surface to ensure that the paint adheres properly. Apply a coat of primer to seal the wood and provide a smooth base for the paint. Once the primer is dry, apply at least two coats of paint, allowing each coat to dry fully before applying the next. Use a high-quality brush or roller for a smooth, even finish.
If you’re staining the frame, the process is similar. Begin by sanding the wood to remove any rough spots and to open up the grain. Apply the stain with a clean cloth or brush, following the wood grain, and allow it to penetrate the wood for the recommended time. Wipe away any excess stain with a clean cloth, and allow the frame to dry completely. For added protection, apply a clear topcoat or sealer after the stain has dried.
By carefully painting or staining your repaired or replaced door frame, you can achieve a polished, professional look that complements the rest of your interior design.